Windows10系统如何查看侦听端口
发布时间:2023-6-2 13:39:39 来源: 纵横云
Windows10系统如何查看侦听端口
使用 Windows10系统的用户,通常都会使用DOS命令来看被侦听的端口。不过,这样操作起来非常麻烦。那么,我们也可以在资源监听器里面直接查看侦听端口。本文将针对此问题进行详细说明。
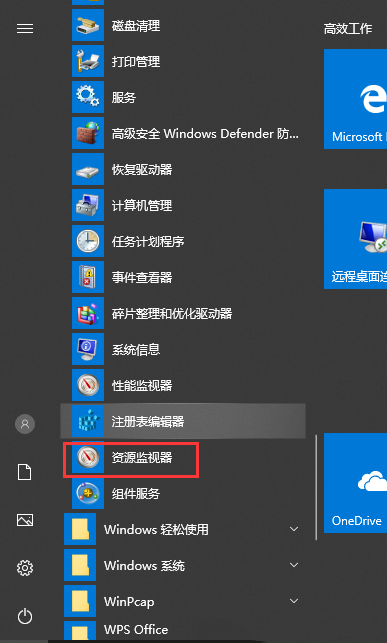
1.点击“开始”菜单,然后找到“WINDOWS管理工具”,在下面找到“资源监视器”。
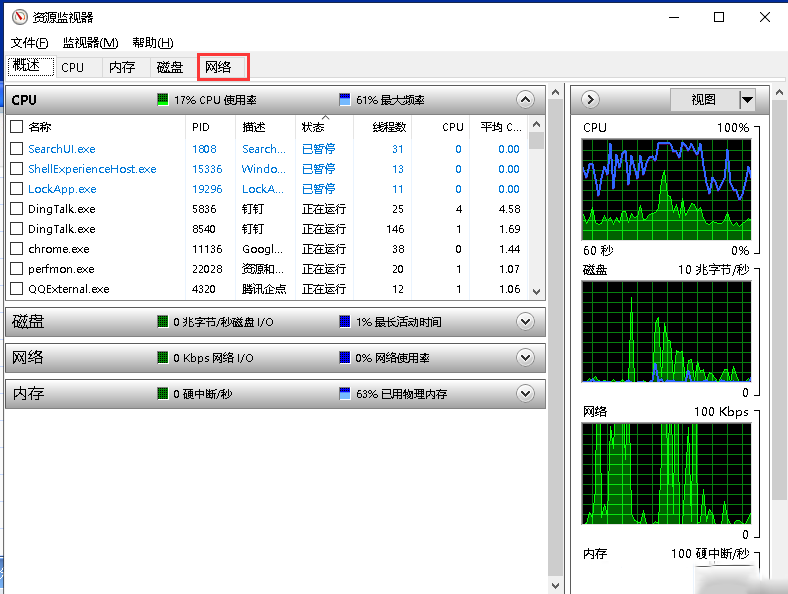
2.进入资源监视器页面后,找到”网络”并点击。
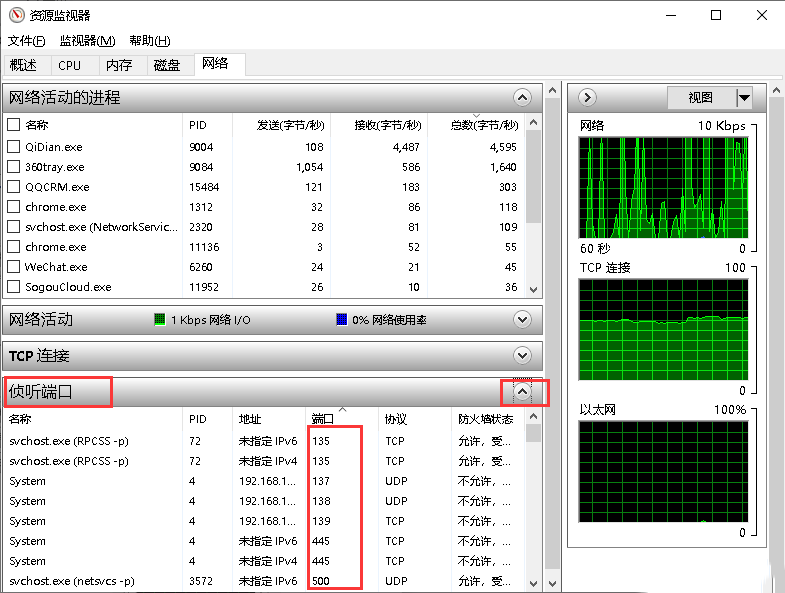
3.在网络栏目中我们会看到“侦听端口”选项,查看右侧,我们会看到一个下拉三角,展开箭头,我们就可以看到被侦听的端口了。
本文来源:
https://www.zonghengcloud.com/article/11055.html
[复制链接]
链接已复制


