Windows 7 PPTP 设置教程
发布时间:2022-9-21 17:02:27 来源: 纵横云
Windows 7 PPTP 设置教程
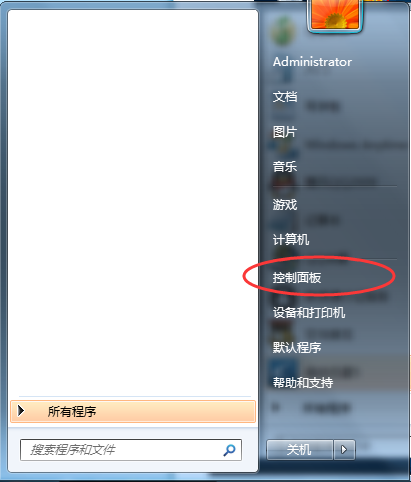
在开始菜单中,选择“控制面板”,然后看图操作...
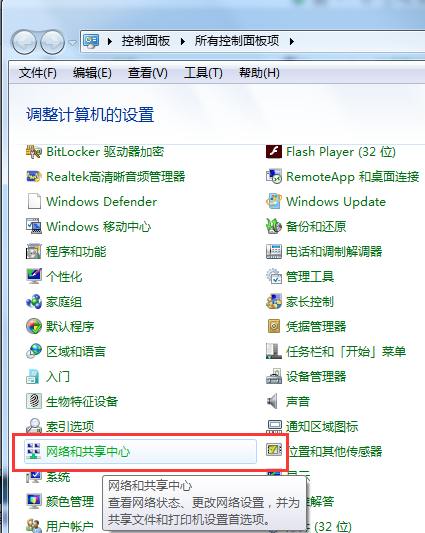
找到“网络和共享中心”
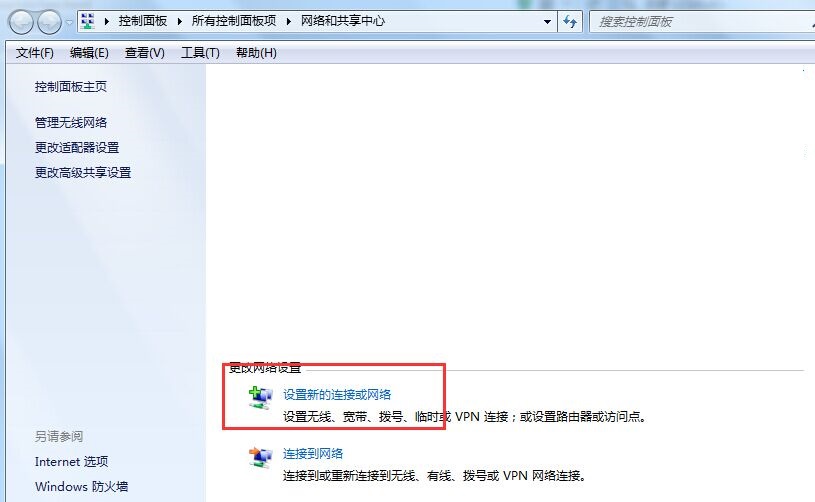
点击“设置新的连接或网络”
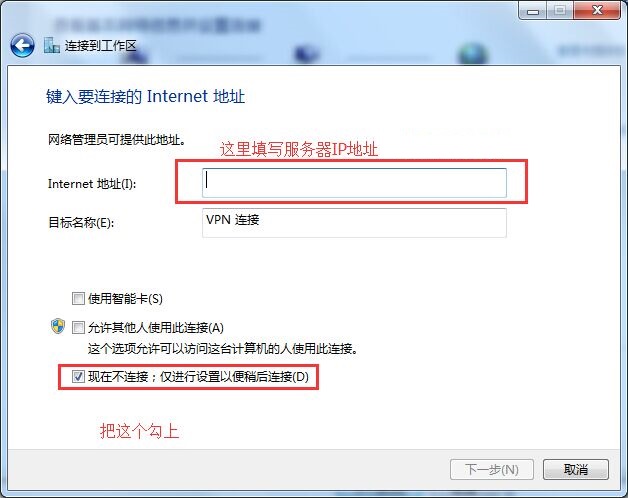
连接到工作区
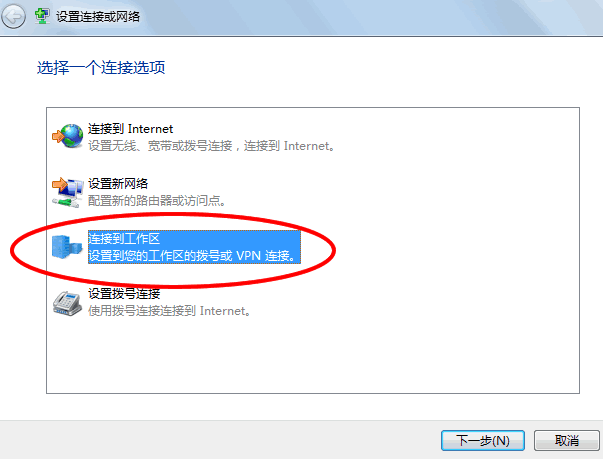
使用我的Internet连接VPN

按提示填写相关信息。
填写你购买的VPN账号和密码。密码可以记住
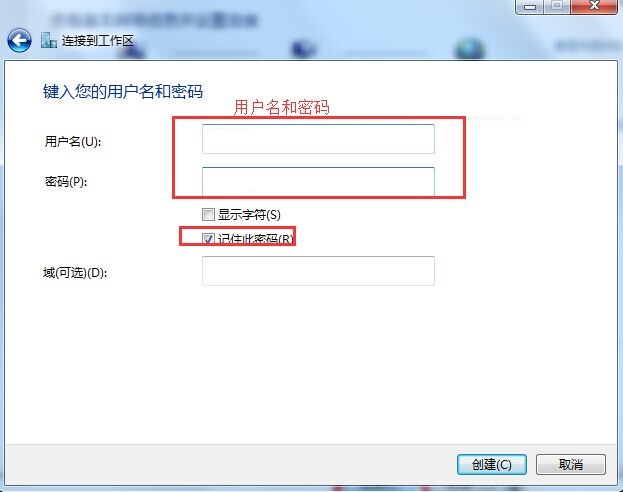
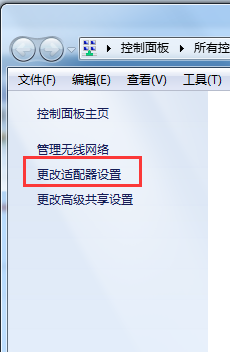
点击创建,但是先不要连接,回到“网络和共享中心”
点击“更改适配器设置”
找到刚才创建的VPN,我这里的名是 VPN 连接 ,然后右键打开属性
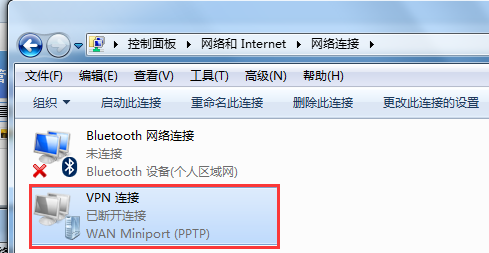
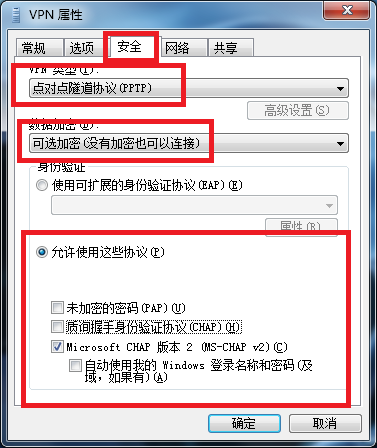
在安全 类型 那里修改为PPTP
点击确定,即可创建好,这时可以在本地网络连接那里点击看见刚才创建的VPN,点击连接即可,或者在 控制面板\网络和 Internet\网络连接 找到刚才创建的VPN 连接
本文来源:
https://www.zonghengcloud.com/article/7465.html
[复制链接]
链接已复制


