Windows如何搭建Apache
Windows如何搭建Apache
本文介绍如何下载及安装Apache。
1.打开apache官网http://httpd.apache.org/(或百度"download apache")。

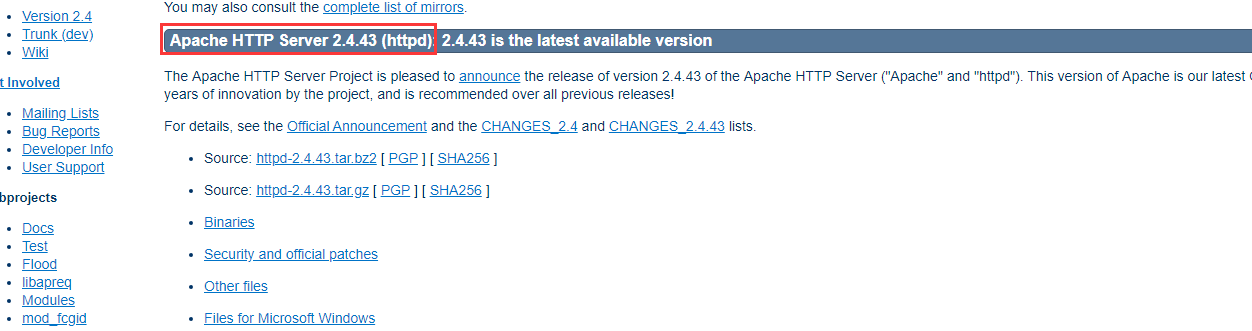
2.点击Download,出现以下界面。
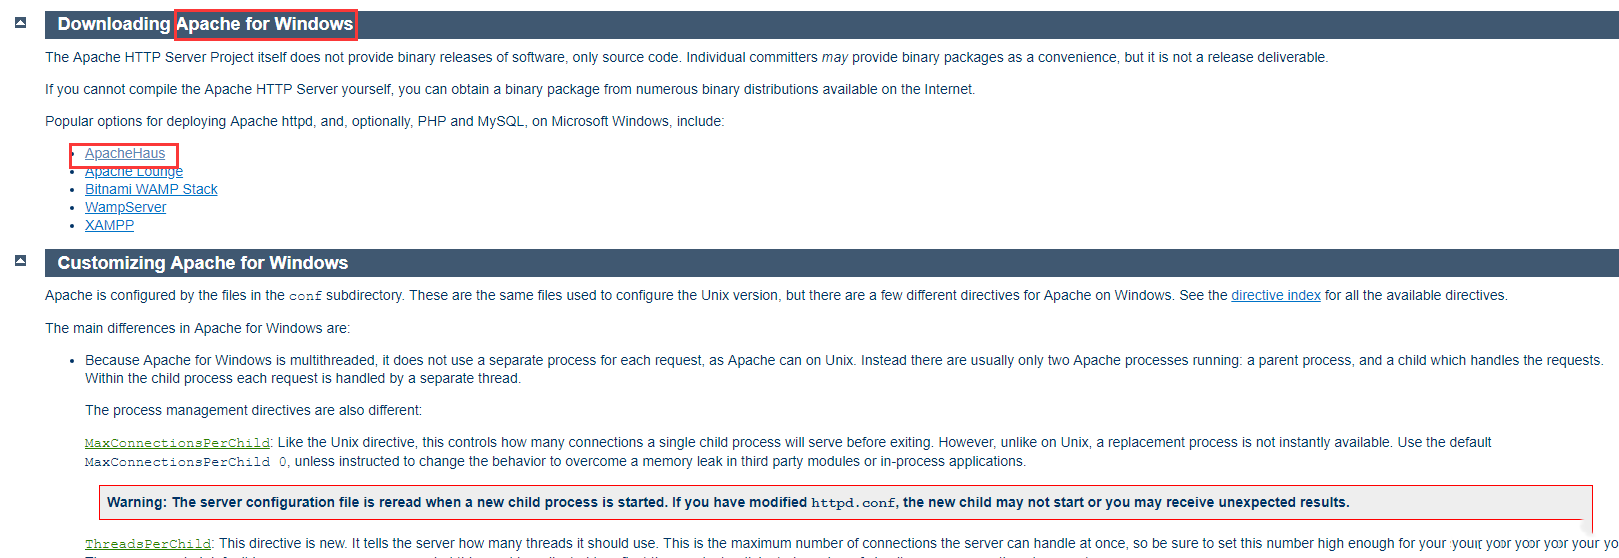
3.选择Windows版下载,点击链接。
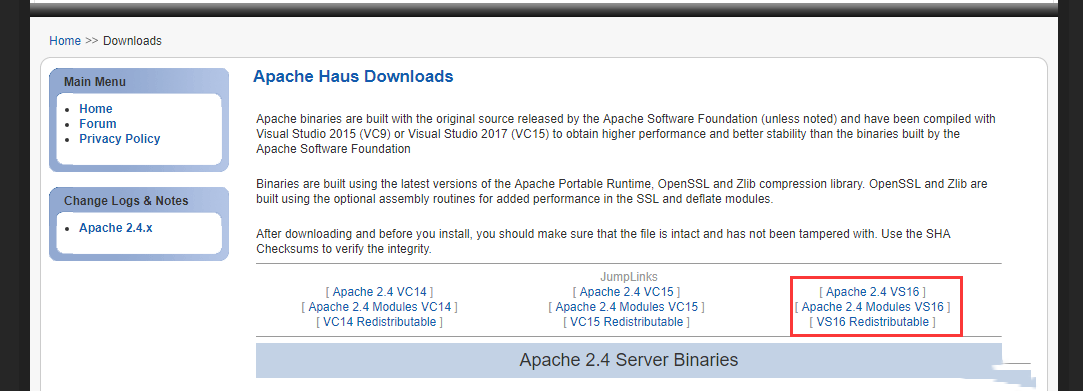
4.在新的界面中,会发现VC16和VC15字样,通过阅读相关内容得知,VC16是指用VS2008编译的代码,而VC15是用VS2012编译的,而用VS2012编译的无法在Windows XP和Server 2003中使用。算是为了兼容性好点吧,这边选的用VC16编译Apache,选择下载至此,下载过程完成!
5.下载安装包。

6.解压缩文件到你想放置的目录下,这里我们选择放在D:\Apache-2.4.20目录下。

注意:Apache24名称可以根据自己情况改,这边改成“Apache”,如下:

7.打开httpd.conf文件(比如在D:\Apache-2.4.20\Apache\conf下)
7.1修改Apache实际绝对安装目录:最后结尾处不能带"/"或"\",因为后面配置的目录开头已经带有"/"或"\",如下图所示(其中“${SRVROOT}”指定义的SRVROOT路径变量):

(可以是“/”,也可以是“\”)。
若你的80端口被占用(可在cmd下用命令netstat -ano | findstr 80),则将80端口改为别的保存。

检查配置文件是否合法:httpd -t
7.2安装Apache的主服务:有了它,Apache才可启动。可以添加httpd.exe环境变量,然后打开cmd窗口,输入:httpd -k install -n Apache
该命令的意思是,安装Windows可托管的Apache服务,其中"-n"后面参数是自定义Windows服务名称,之后可使用Windows管理服务的命令来管理apache服务,如"net start/stop apache"(启动/停止服务)。
服务安装完毕,完毕后,会自动测试,若有问题,窗口会提示错误,此时请根据错误自行排查。
正常安装完毕如下图所示:
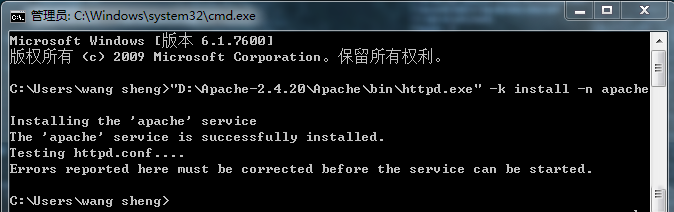
其中,Errors reported here must be corrected before the service can be started.意思是“此处报告的错误必须在服务开始前进行纠正”,这只是温馨提示,可忽略不管。
8.Apache服务器的启动。
配置好Apache服务器之后,我们便能启动服务器,Windows下Apache服务器的启动方式有三种。
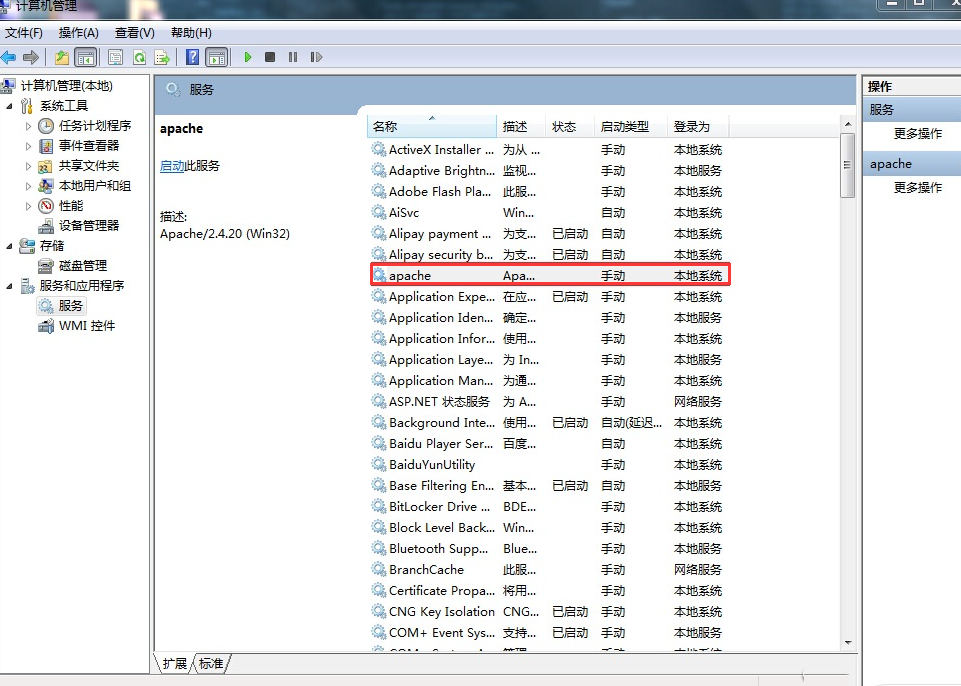
8.1利用Windows启动
打开计算机管理,找到Apache服务项,选择后,右键单击,便可选择相应操作(启动、停止、重新启动)
8.2利用命令行启动

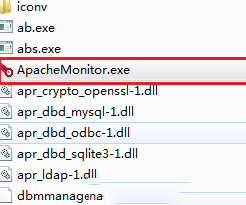
8.3利用Apache服务器自身的视窗打开
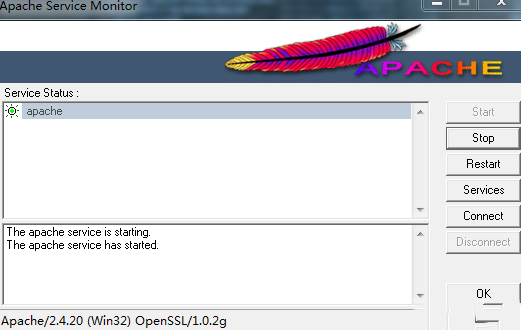
找到bin目录下的ApacheMonitor.exe,打开
双击运行,桌面右下角会出现图标,双击打开窗口界面,会看到如图所示:
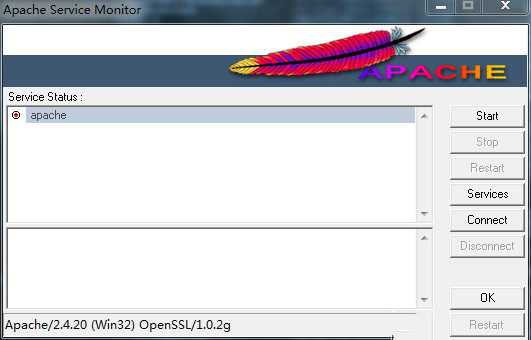
点击左侧start,启动Apache服务。
补充句,从该界面可看出,其可以手动控制服务的开启与关闭,为了节省资源,关闭Apache服务器的时候,请先点击“Stop”关闭Apache服务。当然,该服务也可以windows系统服务中关闭(建议设置成手动)。
下图显示的是该服务成功显示的状态:
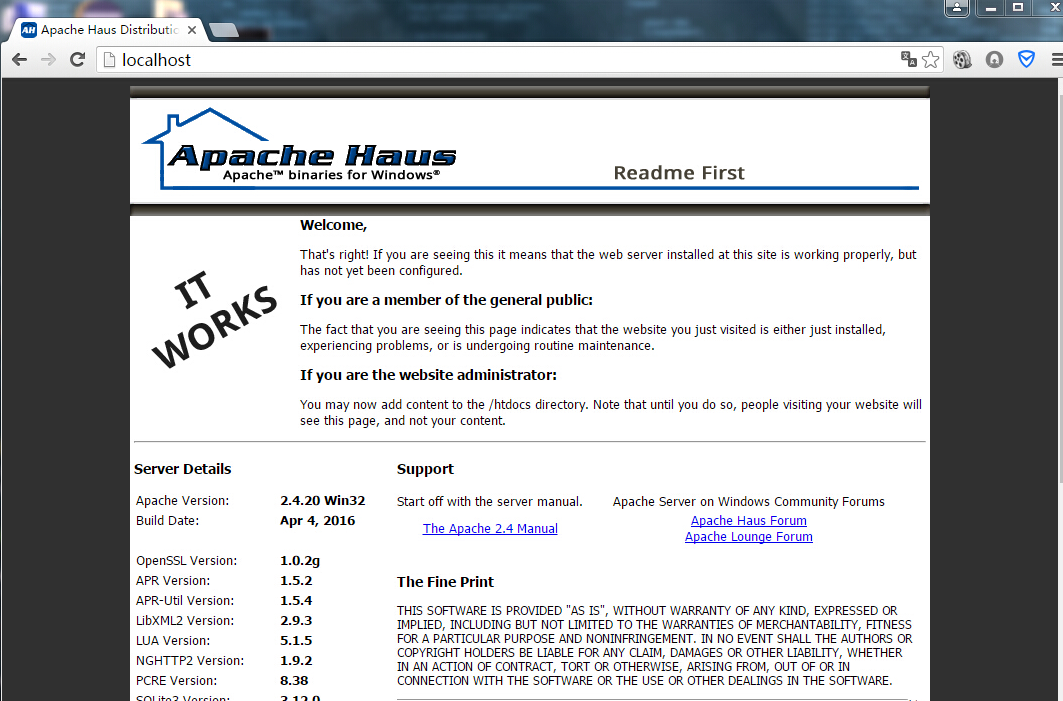
打开浏览器,输入访问http://localhost,若出现如下图所示界面,则Apache服务器的基本配置完毕,此时Apache服务器已经可以运行。