Centos系统使用nmap进行端口扫描
发布时间:2022-11-21 15:01:54 来源: 纵横云
Centos系统使用nmap进行端口扫描
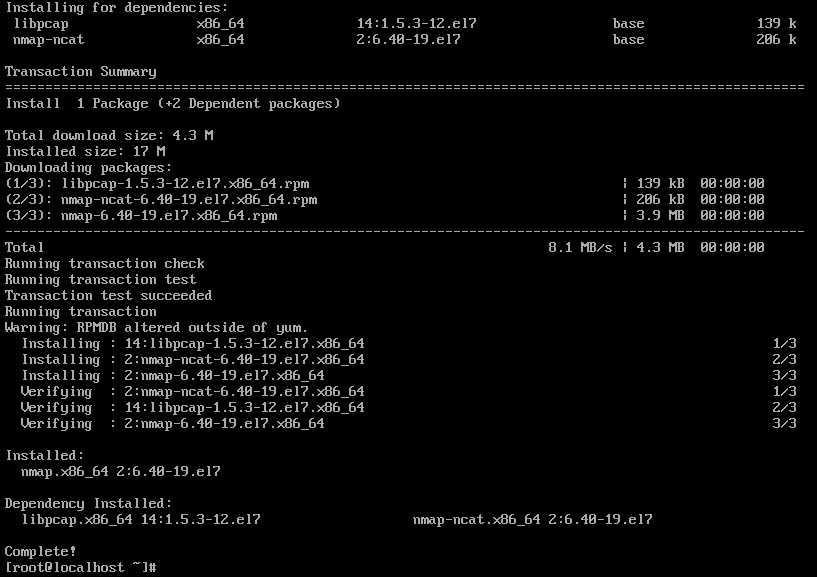
1.安装nmap
yum install nmap –y
2.查看本机当前开放的端口
nmap localhost

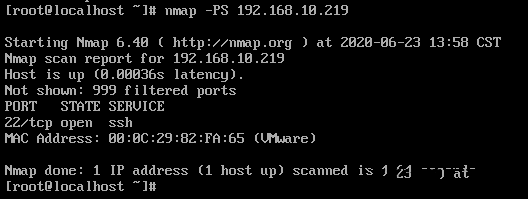
3.探测目标主机当前开放的端口
nmap -PS <目标主机IP地址>
4.扫描某网段内的主机
nmap <目标网段>


5.扫描多台主机
例如:nmap 192.168.10.26 192.168.10.219

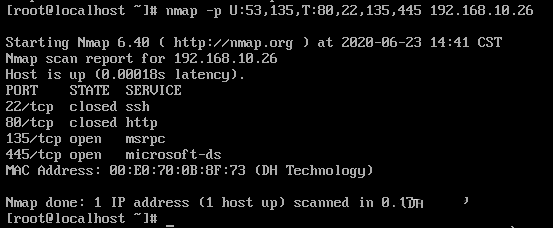
6.扫描目标主机上指定的端口或协议
例如:nmap –p U:53,135,T:80,22,135,445 192.168.10.26 (备注:U指UDP协议,T指TCP协议)
7.找出网络中的在线主机
例如:nmap -sP 192.168.10.*


8.本文只列出nmap几种比较常用的运用方式,更多的命令和使用方法可以查看nmap相关站点
本文来源:
https://www.zonghengcloud.com/article/8388.html
[复制链接]
链接已复制


